If you have been shopping for a new office chair, you have probably come across refurbished versions of some of the most popular models, including the Steelcase Leap V2. You are probably wondering just how thorough the refurbishing process is and what you can expect from a refurbished versus a new chair. That is why we are going to walk you through our extensive process we use to refurbish Steelcase Leap V2 chairs at BTOD.
Our refurbishing center has enough space so that we can handle large volumes of chairs. At the moment, we have about 2,500 chairs on hand, which we acquire from various large corporations around the USA. Our goal with each refurbished chair is to maintain an experience as close to the original as possible.
Full Disclaimer: We are an office furniture dealer and sell some of the products we review. To learn more about the products we sell, our review process and why you can trust us, please visit: Why we’re different. Who is BTOD.com and The Breakroom Blog?
Refurbishing Process Links
- Starting with Core Chairs
- Steam the Seat Pads
- Add New Upholstery
- Rebuilding Seat Mechanisms
- Test Chair Functions
- Refurbishing the Core Chair
- Frame Restoration Process
- Lubricating Mechanism
- Replace Seat and Back Pads
- Prepare and Package the Chair
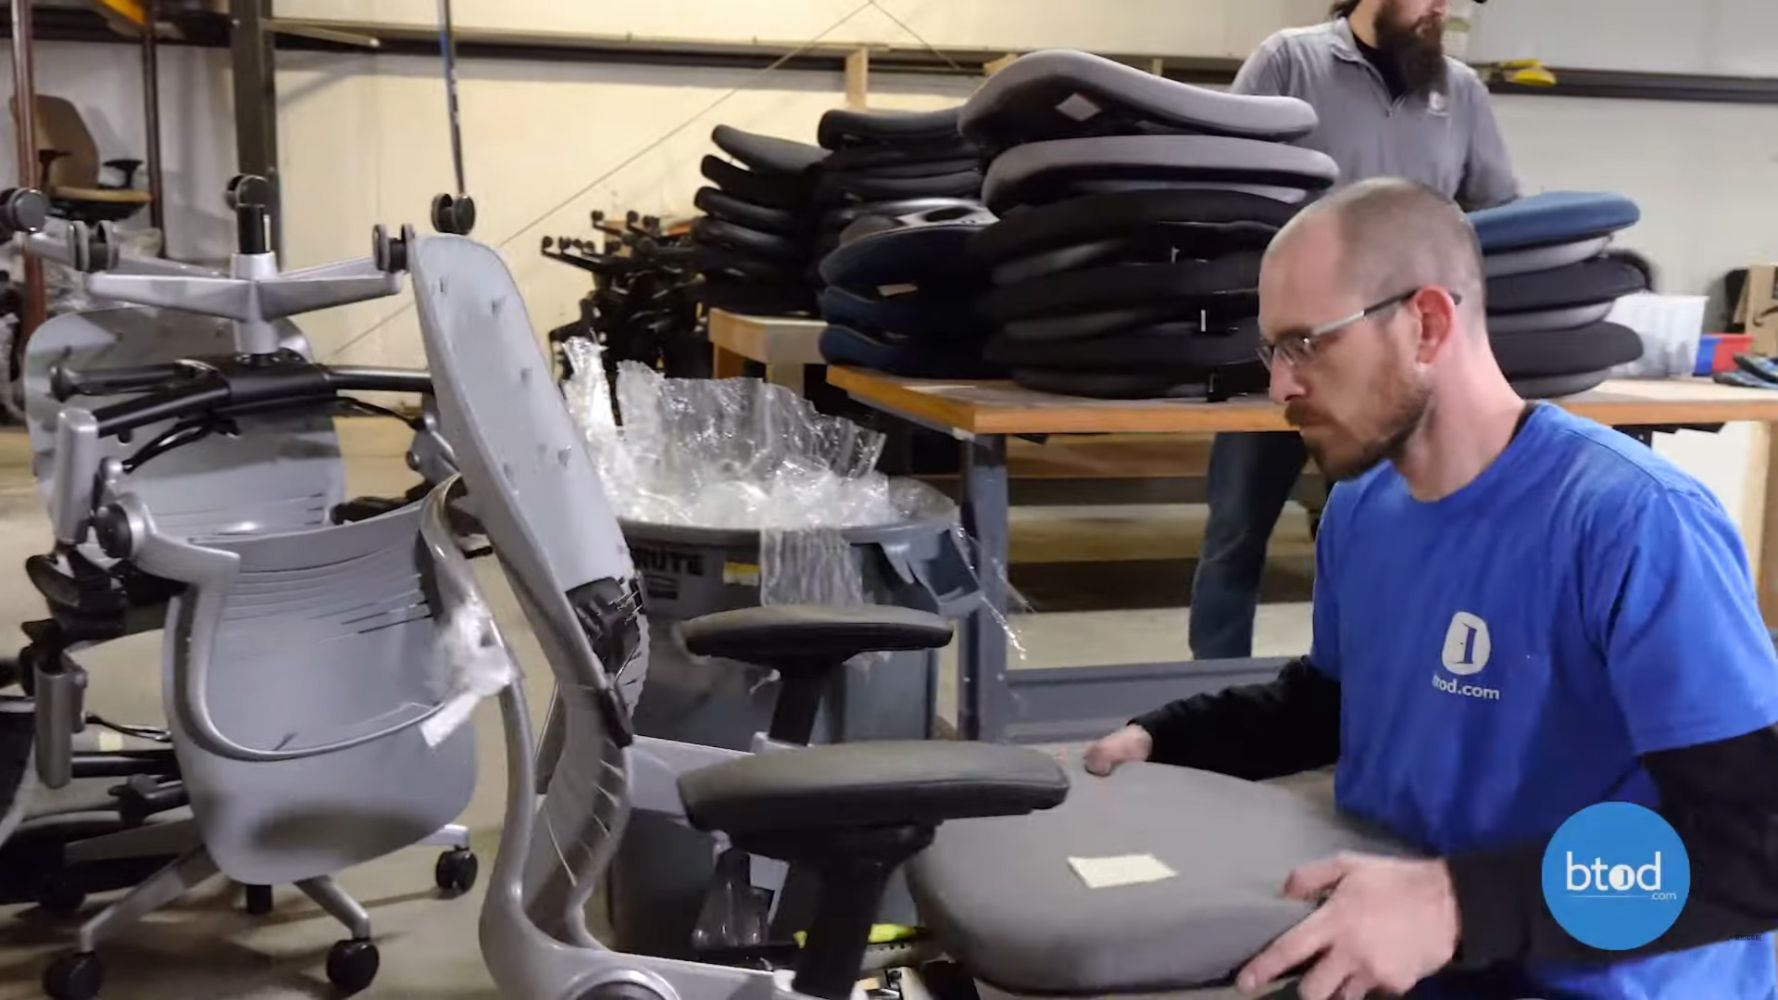
1. Starting with Core Chairs
All of our chairs arrive in large semi trucks. Once they have been counted and inventoried, we can begin taking off the seat pads and the backrests, tearing them down to just a core chair, so we can put the used pads into the large gaylords. They are transported to our upholstery partner, Cover It All, so that his team can start the reupholstery process.
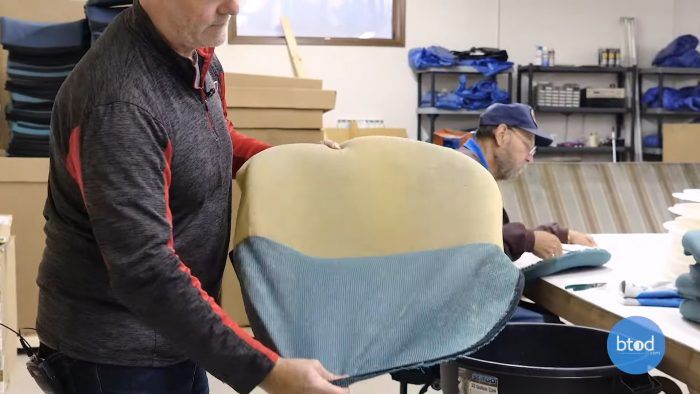
2. Steam the Seat Pads
Cover It All’s first step is to remove the staples from the original back and seat shell. From there, they use a specially designed insulated box that allows the pads to be placed inside one side of the box where steam is piped in. The pipes have holes drilled in them so that the steam can be released evenly and really infiltrate the old material and the foam.

This loosens the glue and makes it easy to remove the material from the pads, which can be pulled out the opposite side of the box and stripped of the upholstery material. After the backs and the seats have gone through the steaming process, they are left to dry.
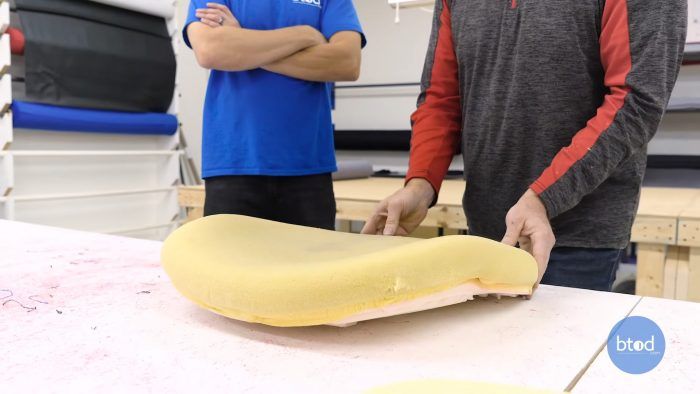
Our next step is to attach an additional ½” layer of high density foam to the bottom of the seat pan shell. This goes below the original pad. Because the original foam is very high-quality, our goal is to avoid replacing the entire seat pad. Replacing this would be wasteful and not good for the environment.
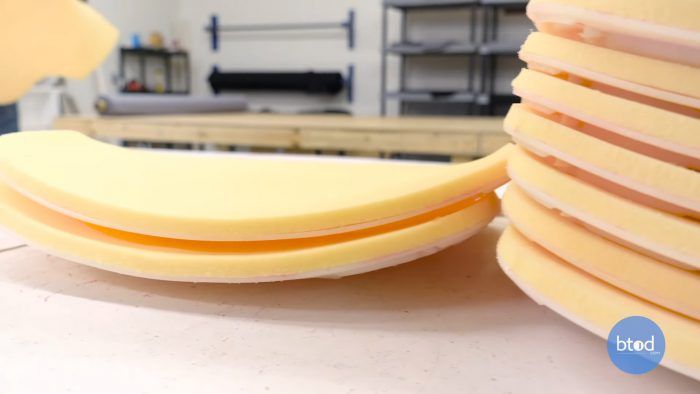
Once the shell has been outfitted with the new high-density, half-inch foam on the bottom, the original foam is simply placed on top. The added layer of foam helps the seat to maintain its original shape and feels very similar to a brand new seat pad.
3. Add New Upholstery
The next step is to cut the fabric for the chair seat and back. We currently use an open-house Guilford of Maine, which is a very high-quality fabric for upholstery and comes with a high rub count. We start by lightly spraying a foam adhesive and draping the material over the seat pad before smoothing it down and stapling it in place. We staple all around the edge to create a uniform look and give it a quality check to look for any wrinkles or imperfections. The result is a chair with a really nice feel and fabric that will never move even after being sat on several thousand times.
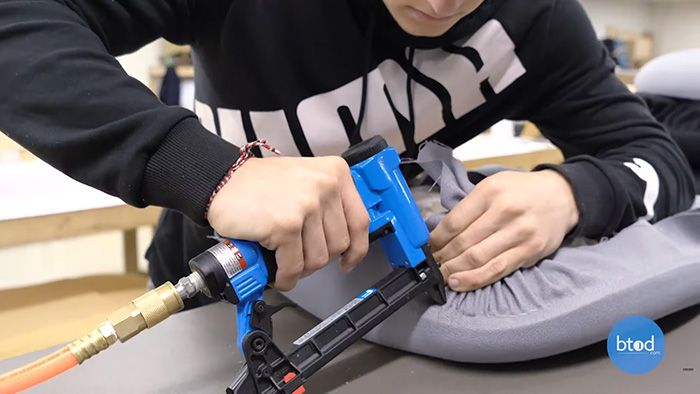
The final step is to trim the excess material off and trim around the screw holes where a plastic plate will later be attached at our refurbishing facility.

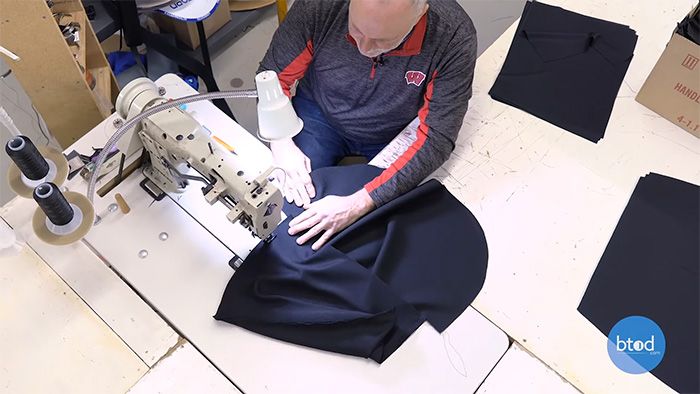
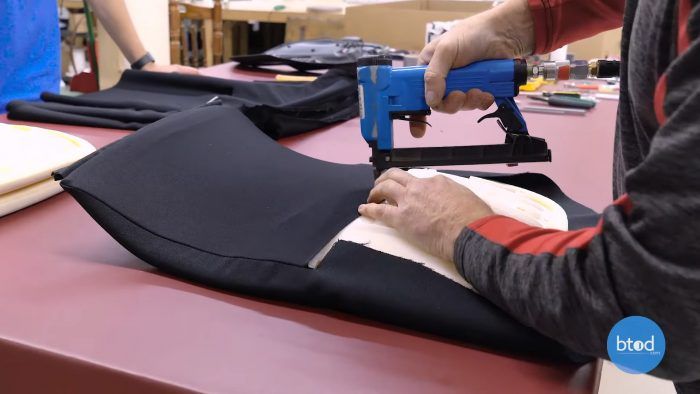
Once the back has been sewn, it is turned right side out and the corners are pushed out. At that point, the back upholstery can be slid on just like a pillowcase for a snug fit. Very short staples are used to further secure the material in place and ensure that there isn’t anything poking through the back when you sit down. The staples are placed to avoid any bunching or wrinkles and the final product is a beautiful taut back.
4. Rebuilding Seat Mechanisms
Once the seat pads are complete and back in our production facility, each needs to be rebuilt with a seat slide mechanism that gets reattached to the seat. During this process, we also remove the original tag from Steelcase and we put a BTOD tag on. This lists the month when it was refurbished, and our information in case you need to make a warranty claim. This is important because BTOD covers all warranty claims, not Steelcase.
5. Test Core Chair Functions
Before we can start to refurbish the core chair, each chair is brought into the production room where we can start to test the chairs seat, back and arm functions. The first thing to look at is the five-position back stop on the Leap. We’ll go through each one of these just to verify it does in fact stop in those correct positions. After that, we’ll check the tension on the seat recline to make sure that it is working as expected. During this process we are able to remove any chairs that might have defective or squeaky mechanisms.
The lumbar height adjustment, lumbar depth adjustment knob and armrests height adjustments are checked here as well. We can remove any chairs from production at this point if they are not working as expected, or mark those that need to be fixed if it is a replaceable part.
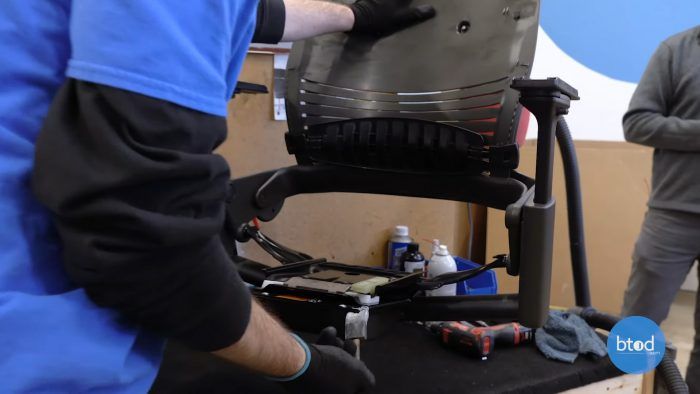
6. Refurbishing the Core Chair
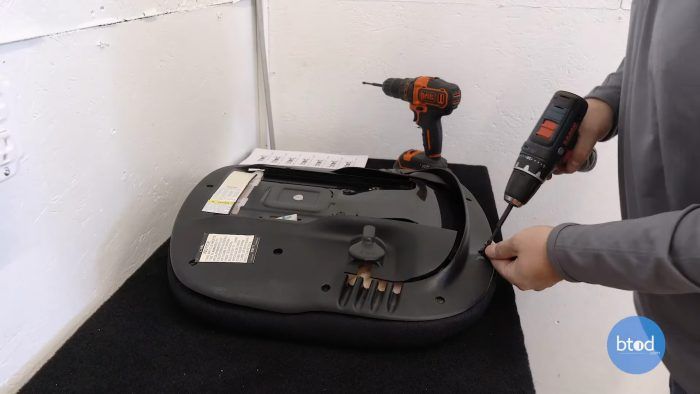
We are now ready to put the chair up on the refurbishing table and get to work. Each production table has a custom box that holds the core chair in place. To start this process, we use a large pipe wrench to release the friction holding the original cylinder in.
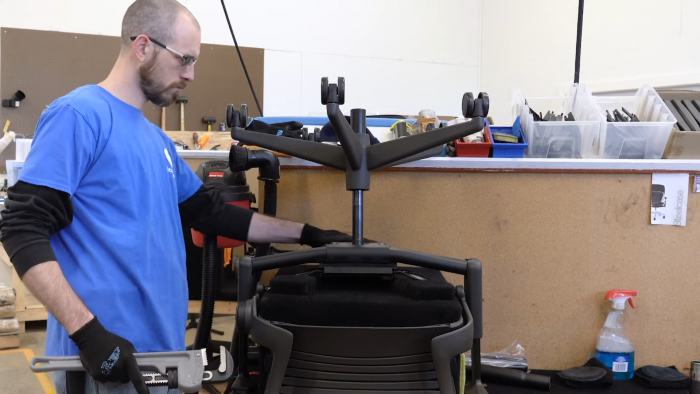
If a chair has a grade A cylinder for the Greener Option we offer, we will use a different tool to ensure the cylinder is not damaged during the removal process. Once removed, the cylinder is pushed out of the base, as well as the original casters.
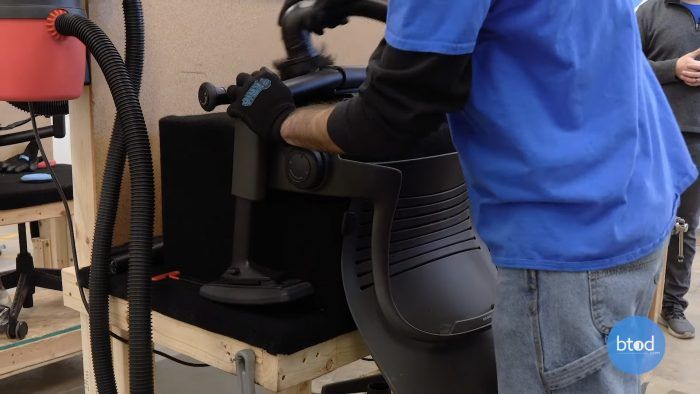
To ensure our new replacement cylinders function properly, we’ve created a jig that allows us to test the chair and cylinder together. Next, we use a strap wrench to pull the cylinder out. This also helps to prevent any damage to the cylinder.

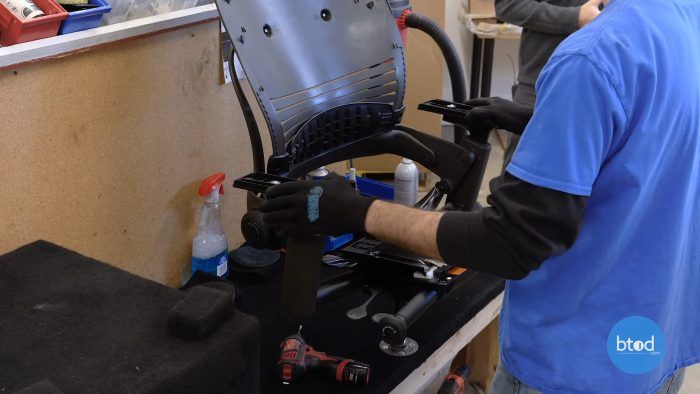
With the chair upside down, we’re ready to vacuum and clean up the bottom of the chair. Every workstation has two vacuums, which is important because we want to have a clean vacuum and a dirty vacuum. One brush is used when the chair is dirty while the clean vacuum is used later on the upholstery. The brush we use actually agitates the dirt and the dust. Next, the arm pads are removed so that we can flip the chair over and start working on the other side.
With the four-way adjustable arm, we’ve found that some arm mechanisms can become loose over time, so we also test these to ensure that they feel tight enough. If the arms are loose, we will actually tear down the arm mechanism and build it back up by replacing the washers to get the tension right. Whether the arms are in good working order or have been rebuilt, we will still go through and thoroughly clean them to make sure that everything looks really nice.
Once the arm tension is right and the arms have been cleaned up, we will take the dirty vacuum again and go through the top side of the chair, making sure that all of the dust and dirt is out of the chair.
7. Frame Restoration
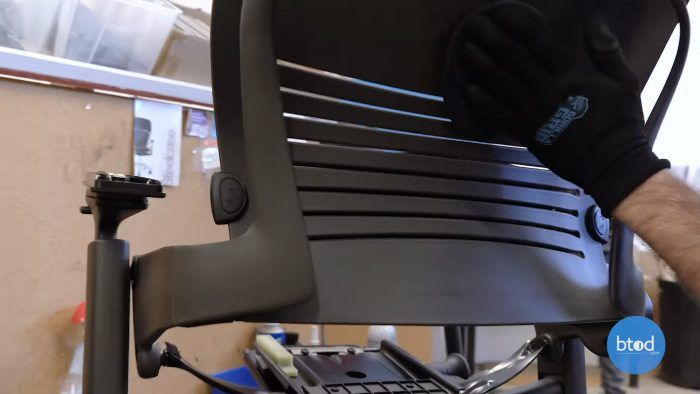
Next, we use an oxidation removal solution to restore the appearance of the frame. Oxidation naturally occurs with plastic components, but with this process, we can make the chair look very close to new. If you’re watching the video along with this, the products can appear a little bit darker than the frame should at first, but a final wipe-down removes the excess solution and provides a perfect match to the original frame.
8. Lubricate the Mechanism
Before reattaching the seat sliding mechanism to the , we always re-lubricate the recline mechanism in the chair. Naturally, there’s a lot of friction that occurs here because of Steelcase’s design, using sliding plastic parts and over time they will inevitably start to stick. Ultimately, what we want to do is we want to make it feel like a new chair. We use white lithium grease, which is the same type of grease that they use in the Steelcase chair when it comes off the production line. The grease is applied to both ends of the mechanism and the chair is moved back and forth to help work in the grease. Any excess grease is cleaned up so that the chair is clean and looks nice.
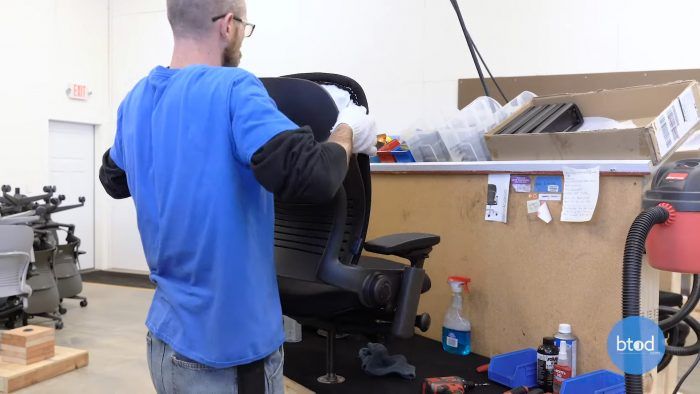
9. Replace Seat and Back Pads
It is time to start rebuilding the chair, so first we attach the seat glides to the mechanism. Again, this process is completed using “dirty” gloves and a second pair of “clean” gloves is reserved for the cleaning process. Next, brand new arm pads are attached to the chair. Once those are in place, we can attach the seat pad and the back pad. We like to have the chair almost fully assembled. This gives us an idea of what the end user will be experiencing in the field once they are assembling it themselves
10. Prepare and Package the Chair
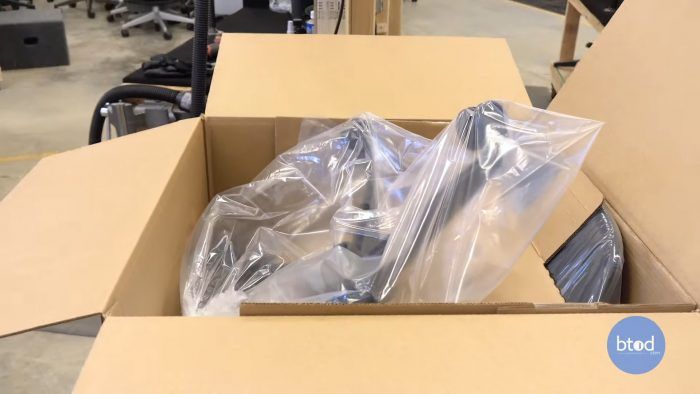
Finally we take the clean vacuum a need go through the chair again to make sure everything is nice and clean, especially the upholstery. We want every chair to leave in perfect condition. Once it’s vacuumed, we’ll put a bag on it to seal the chair up so that when it gets in the box, we can guarantee that you’re going to receive a nice, clean chair.
The plastic that’s used on the chair also protects the chair from any abrasion that can occur when the chair is rubbing in the box as it’s being shipped across the country. The packaging here is actually something we had custom created for us at BTOD for our chairs.
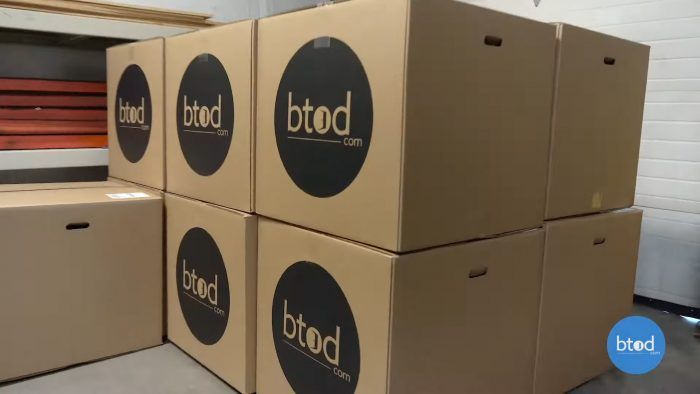
The last thing we’ll do is pair the base with the casters that the customers ordered. They’ll pre-assemble these to the base. These are placed in the box along with the instructions and assembly kit. We like to package our chairs so that you can immediately start assembling them when it arrives. With everything in place, it is sent to shipping so that it can be picked up by FedEx and sent out to one of our customers around the country.
As you can see, we have put a lot of time and thought into our refurbishing process. We want to make sure that every chair works like new and provides our customers with an excellent product that they can use for many years to come.
Additional Office Chair Resources
- 12 Best Adjustable Height Desks for 2025
- 13 Best Standing Desk Chairs and Stools
- 5 Reasons Ergonomic Chairs Will Improve Your Back Pain
- 6 Problems and Solutions For Mesh Office Chairs
- Best Office Chairs Ranked for 2025