My boss is a repeat offender when it comes to bad cable management. It wasn’t until recently that he decided to improve his at home setup. Today I am going to help him get organized at the office because right now it’s just awful.
Full Disclaimer: We are an office furniture dealer and sell some of the products we review. To learn more about the products we sell, our review process and why you can trust us, please visit: Why we’re different. Who is BTOD.com and The Breakroom Blog?
Bad Cable Management Links
- Unorganized Cable Management
- Challenges to Fix Cable Management
- Deconstruction Process
- Reconstruction Process
- BenQ Halo Monitor Light Bar
- Cable Management Products
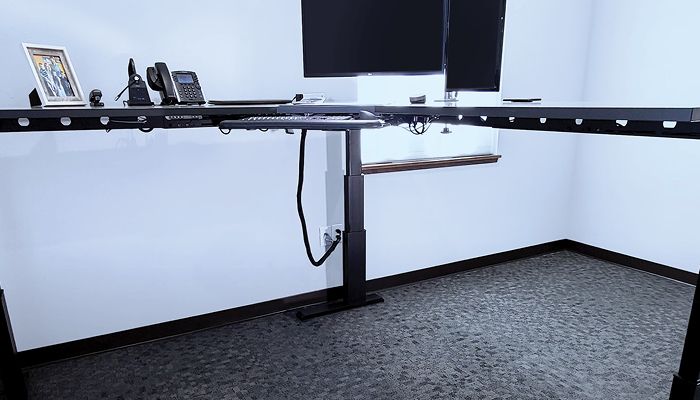
1. Unorganized Cable Management
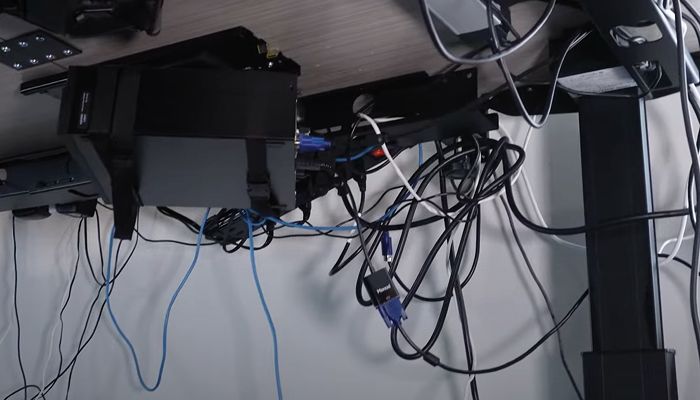
To start, I noticed the rats nest of cables under the desk. This looks super messy and unorganized. Some of the cables are not connected to anything so we need to figure out if they are needed at all. I also found an entire computer attached underneath the desk that he never uses which is a good explanation of the extra cables.
2. Challenges to Fix Cable Management
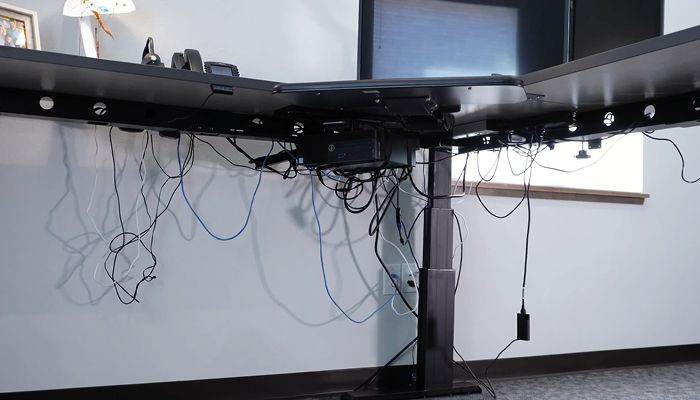
Secondly, there are some challenges with cable management depending on the type of desk you have. My boss’s desk is shaped in an L which means the cables need to be routed through two horizontal directions. His desk is also an electric standing desk so the wires will need to accommodate the movement. I have a few surprises in mind as well to assist with this setup.
3. Deconstruction Process
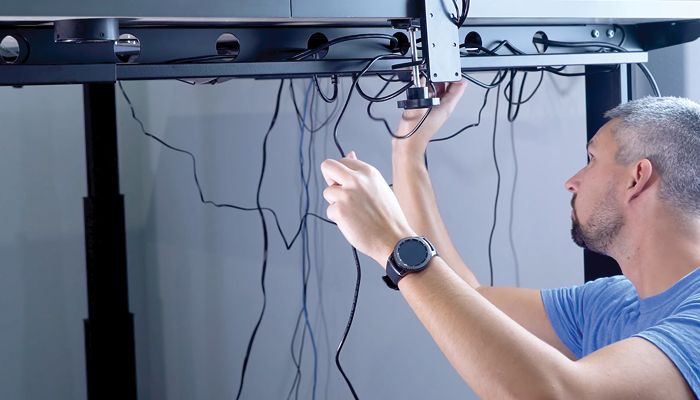
Next, I began the deconstruction process. This included actually unscrewing the current switch that raises the desk to a new one because it was broken. My boss Greg used his phone to raise the desk which I didn’t have. Once the switch was replaced, I was able to get underneath the desk and detach all wires easily.
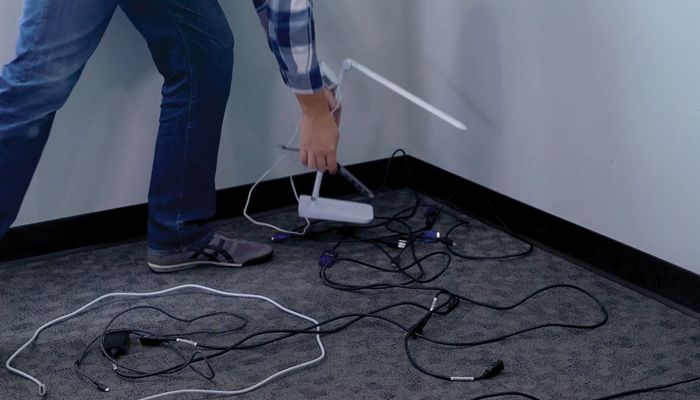
By taking everything apart, I discovered the actual cables and items that weren’t even being used. I compiled those items into their own corner of the room. The pile continued to grow as I added more and more to it which included that unused computer. I noticed there was an additional monitor arm post, so I removed that too and put both monitors on one arm.
Now that I have everything detached and extra parts removed, it was time to make a plan of how to make this look more organized and flexible.
4. Reconstruction Process
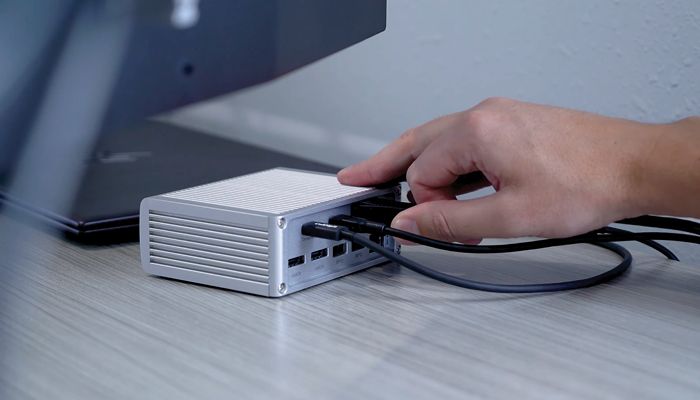
The first step I decided on was to get Greg a CalDigit Thunderbolt Dock that is shaped as a block and will sit on top of the desk. This will help him when he takes his laptop home and has to unplug the charger. It’s a pain to have to crawl under the desk to do so. The hub acts as a charger and only allows one cable to be connected to his laptop.
To place the hub in a convenient area on the desk, I had to figure out how the other cables would all route to it and ensure they wouldn’t entangle. It was easy to get the monitor cables to pass through the monitor arms and back to the hub. The wires were fortunately all long enough.

Sadly, all of the cables wouldn’t fit into one power strip, so it made the most sense to have a large power strip for the main desk and another for the return. Greg’s New Heights XT Desk has built in wire management trays so that eliminated me having to add any other large cable management products.
5. BenQ Halo Monitor Light Bar
Additionally, I wanted to add a monitor light bar to the setup. Greg uses one of these at his home office so I knew he would appreciate it in the office too. We have been testing the BenQ Halo in the office so I knew this would be a great choice for him.
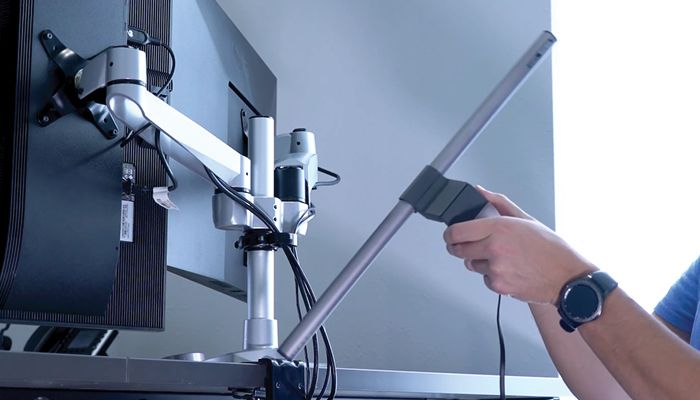
This light bar features a small adjustment puck that sits on the desk, so you don’t have to reach up to the monitor. The light bar is powered by a standard USB plug, so I simply ran it down to his power strip under the desk.
6. Cable Management Products
Furthermore, all the cables were connected accordingly, but some of them were not tight against the desk. I wanted to make sure there were no loose ones hanging. To service these loose cables, I purchased some cable management products. Although there are some built-ins with the desk, there’s always that length of cable running to and from these products that need managing.
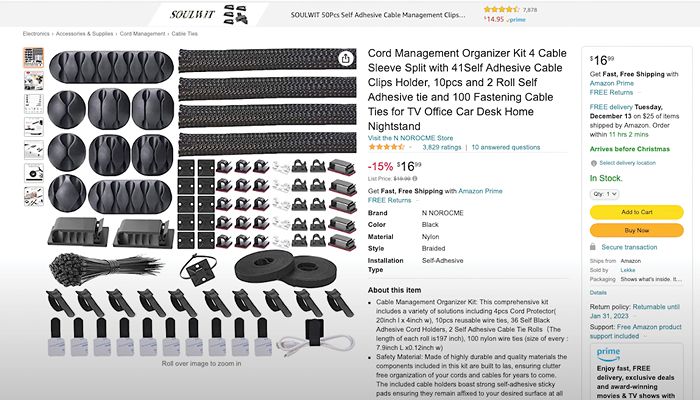
I have used a cable set from Amazon on many desk setups and I feel it’s a great value. For the vertical cables behind the monitor, I like to use a cable management sleeve from the set. Once the sleeve is placed, then I use a clip to keep it secure. It gives it a nice, finished look and you now have one solid unit instead of three separate wires.
Greg stands at his desk often and has visitors, so I wanted to make sure the cables looked good at all angles. The clips and Velcro ties help clean up everything under the desk. I strap down the cables for the desk controls and any other ones that need it. There are some wires that can’t be fully tightened down like those coming from his phone; however, I tucked them into the wire tray as best I could while still keeping them usable.
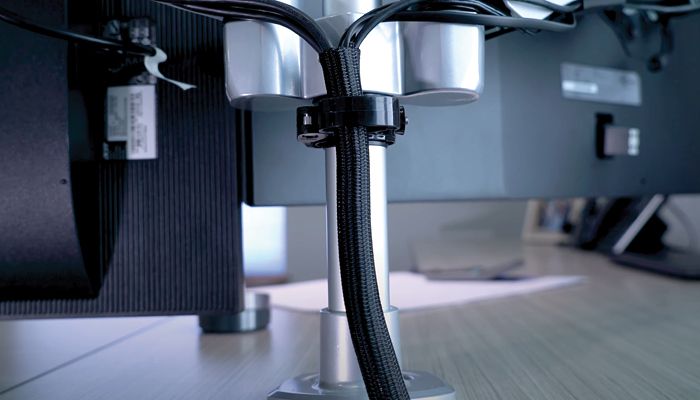
The vertical cables coming down from the desk, I use an Alex Tech braided Sleeve to keep them bundled together. This gives a sleek look as the desk moves up and down. Make sure the sleeve is thick enough to fit all the cables. I then normally will use a couple Velcro ties to hold the sleeve shut.
A final touch I added to the setup was some Sinjimoru Magnetic Cable Clips that I found on Amazon. These are used for cell phone chargers so they can be easily accessed. I tested out the entire set up and everything worked and most importantly looked great.
Bottom Line
If you want your desk set up to look organized and fresh, check out some of the best cable management products around. They will truly help make your space stick out from the rest.