
Managing all the cables on a standing desk can be really difficult. Everything under the desk tends to be completely exposed, so you have to find creative ways to hide the cables and keep them organized. This guide will introduce you to the best cable management box and walk you through how to take full advantage of it while still allowing your desk to move up and down without any problems. If you have a fixed-height desk, everything we discuss will still apply, so keep reading for great cable management tips.
Full Disclaimer: We are an office furniture dealer and sell some of the products we review. To learn more about the products we sell, our review process and why you can trust us, please visit: Why we’re different. Who is BTOD.com and The Breakroom Blog?
Cable Management Box Links
- Buy The Right Cable Management For Your Desk
- Planning Your Desk Setup
- Install the Cable Management Box
- Route and Secure Your Cables
Step 1: Buy The Right Cable Management
The very first step to managing your cables is to purchase any products you will need to bring everything together. For this project, I planned on using the Ultimate Cable Management Box from BTOD, which helped me get an idea of which additional products I might need. I chose this box because I haven’t been able to find any other box that can hold as many cables, power strips, and power bricks. There is even room for an ethernet splitter.
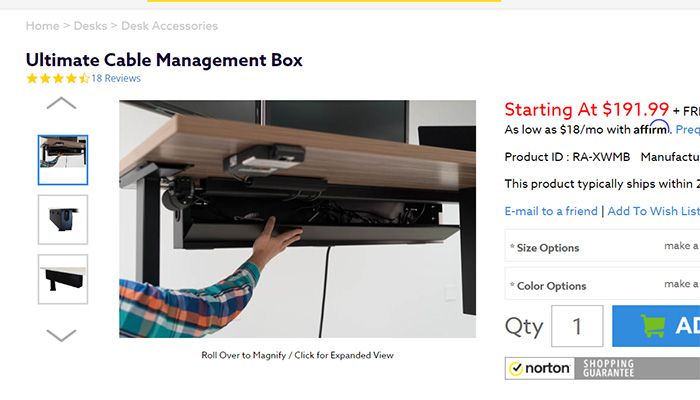
As an added bonus, if your desk happens to have a matching color and finish, the box will seamlessly blend and look like just another part of the desk; however, with a price tag of just under $200, it might not fit into everyone’s budget. For a more affordable cable management solution, I would suggest looking into a server cable management rack or using a combination of plastic boxes and/or trays that you can find on Amazon.
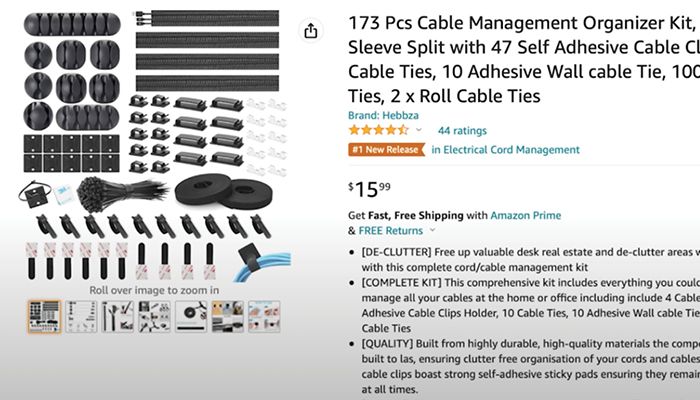
In my case, using the Ultimate Cable Management Box allowed me to save money on additional cable management products. I went on Amazon and purchased the 173-piece Cable Management Organizer Kit for just $16. This comprehensive kit included all the clips, straps, and holders I needed. My final purchase was a 10-foot long 1-inch cord sleeve from Alex Tech to help cover all my vertical cords.
Step 2: Planning Your Desk Setup’s Cable Management
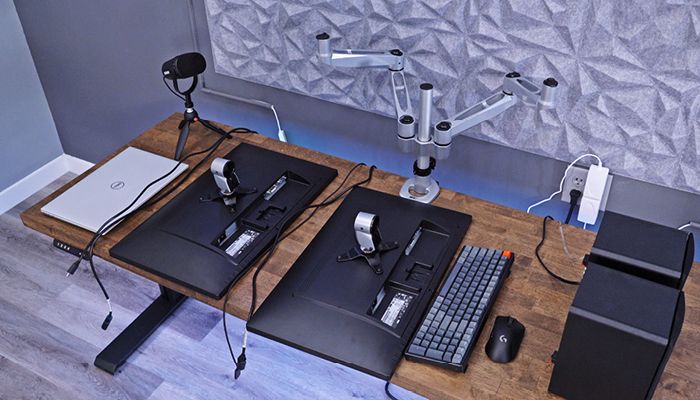
Once you have all the products you need, it is time to unplug all your devices and plan out your desk setup. I set up my monitors and monitor arms and tried to establish a general layout for where all my other items would be placed. I centered my laptop on the desk so that I could easily connect it to a docking station, which helps minimize the number of cords running directly into the laptop.
Step 3: Install the Cable Management Box
If you are feeling good about your desk layout, you can move on to installing the box. I am planning on keeping my desk pushed up against the wall, so I installed the box with the opening facing the front of the desk so that I can have easy access to all the cables. For solid wood desktops, it is a good idea to pre-drill any holes to avoid splitting the wood. To make sure that you don’t drill too deeply, place a piece of tape on the drill bit at the correct depth so that you have a visual marker. While the box is easy to install, it does help to have an extra pair of hands to help hold it in place as you secure it to the desk.
Step 4: Route and Hide Your Cables Under Desk
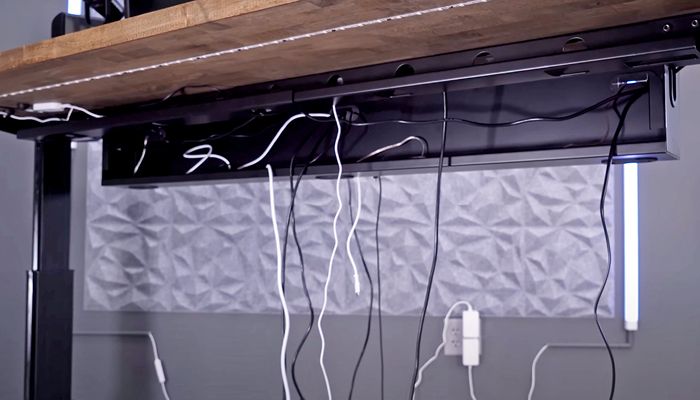
As you begin routing your cables into the box, make sure that each item has enough cable length to get where it needs to go. Anything that is connected to the computer can be sent through the center of the box toward the docking location. Power cables should be fed through the closest opening in the box so they can connect to the power strip.
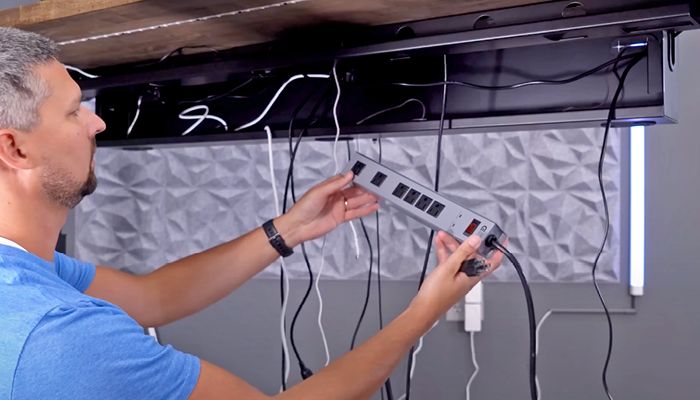
As you plan out the routes for all your cables, make sure that your power strip has enough room to handle all the cords. Fortunately, if you are using the cable management box, there is plenty of room to store the power strip. This means that your power cords only need to be long enough to reach from the device and into the box. You won’t have to worry about having power cords that have to reach all the way to the outlet. If you have a standing desk, remember that your powerstrip should have a power cord that is long enough to reach the outlet when your desk is extended to its full height.
For any excessively long cables, velcro straps are a great way to bundle everything. While this isn’t necessary because the box is so large, I prefer to keep everything organized even if I can’t actually see it. The main goal is to get as many of the cables as possible into the box and then move on to organizing the cables that run to and from the box.
I used the cable sleeve to bundle all my monitor cables together. Next, I cut it to length and used a lighter to melt the ends so that they wouldn’t continue to fray.
From there, it was time to finalize my dock location so that I could start connecting all the devices. My first instinct was to mount the dock horizontally, but I quickly realized that some of the cords stuck out too high, making them visible. Simply rotating the dock to a vertical position helped to make sure all the cables were hidden behind the desk.
Next, it was time to organize the remaining cables. The silicon holders that came with the kit were perfect for attaching the speaker cables to the desk. I wanted them to be tight enough to avoid a messy look, but also leave enough slack so that there isn’t any tension on the connections. A cable strap was just right for holding the power, USB, and display cables connected to the dock. This will make it easy for me to take my dock with me and quickly reconnect all the cables when I return.
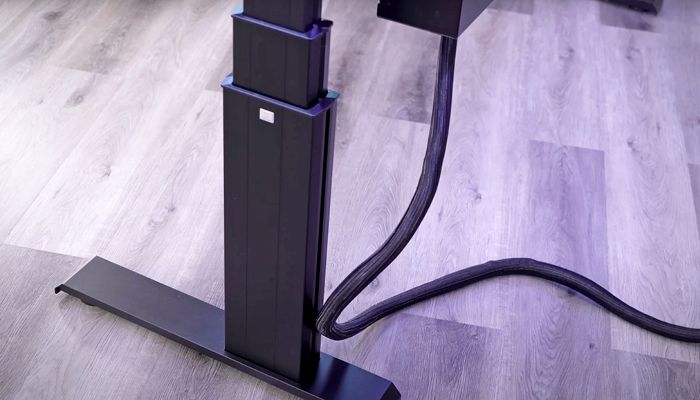
With a standing desk, something to keep in mind is that you will also have power, controller, and motor cables to keep in place. I used adhesive clips to tuck everything up and out of the way. In my experience, these clips work really well and will last a long time as long as they aren’t holding too much weight and aren’t.
If you only have one cable running down from your desk, such as the power cord for the power strip, I personally think that looks fine. However, any additional cables can make the setup look sloppy. For my desk, I had to hardwire it to the network, which meant running an ethernet cable up to the desk. The cable sleeve is a great way to hide these and create the appearance of a single cable that will flex and move with a standing desk.
Adding the cable management box really cleaned up my own desk setup and can make a difference in your workspace too. While I probably won’t ever stop tinkering with all my devices and cords, things are looking a lot better for now.
Additional Office Chair Resources


SayOneYes
This Cable Management Box is a game-changer for anyone struggling with cable clutter. It’s the ultimate solution to tidy up your desk, providing a sleek and organized workspace. No more tripping over wires or searching for the right cord. It’s a must-have for anyone looking to fix their desk and boost productivity!